Supplies:
- Tissue box
- Egg carton
- Acrylic craft paints (3)
- Tape
- Scissors
- Foam paint brushes
- Permanent marker
- Glue/hot glue gun
 |
| Supplies. Not pictured: the permanent marker and hot glue gun. |
As you can see, I didn't spend much at all on this project. I already had everything except the paint and the brushes. The paint was about $0.50 each at Wal-Mart and the brushes were either $0.97 or $1.97 (approx.). So cheap!
 |
| The paint colors I chose. |
 |
| After the first coat of paint. |
Painting the kleenex box was the most time-intensive part of the project. I chose the lightest color kleenex box I could find, but I still had to paint five or so coats to cover up the decorative flowers on the box. There are probably other ways you can do this that are easier, like cover the box with construction paper and paint over that.
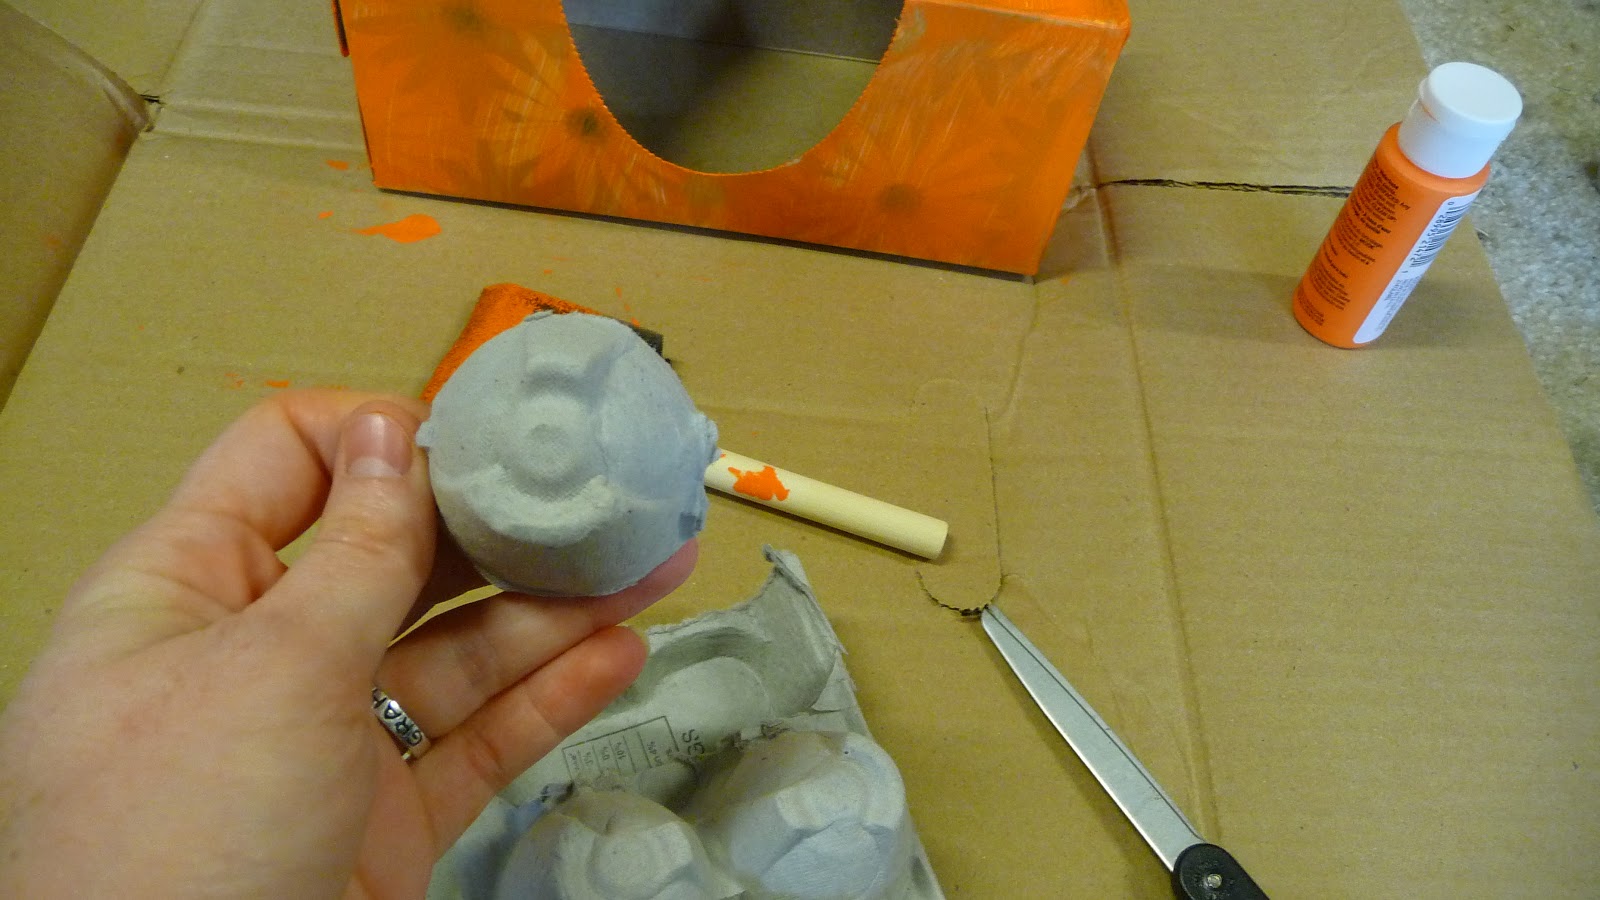 |
| Cut the egg carton and get two "eyes." |
 |
| The "eyes" after painting them with the white paint. |
 |
| I used a permanent marker to make the eyes. |
 |
| FINALLY... the box looks orange enough and you can't really see the flowers anymore! |
 |
| "LW + DW 4EVER" Some of the artwork I did while waiting for the tissue box to dry. I think the paint fumes were getting to me at this point. ; ) |
 |
| Polka dots! |
After the orange paint dried, I painted the polka dots. This was not SUPER easy to do with those big foam brushes, so you might want to get a smaller brush if you want it to be really defined. The good thing, however, is that monsters don't have to be perfect... they're monsters, after all!
 |
| After the eyes are attached. |
 | ||||||||||||||||||||||||||
| Voila! |
No comments:
Post a Comment